Nexus 搭建本地 Maven 仓库
什么是 Nexus ?
常见的项目开发中,Maven下载jar包首先会从本地仓库(setting.xml文件定义)根据公司名+项目名+版本号寻找jar包,如果没有,则会去远程仓库,这里远程仓库是指阿里云,腾讯云的国内镜像仓库,如果没有则会去maven的中央仓库中寻找。这个过程中,其实还有一个部分那就是私服
私服
场景 一
公司中定义了的一个仓库,在局域网中去对整个项目进行管理,特别是针对公司承接隐秘协议或者军队项目时要求全局域网对外隔断只留一个服务器进行联网,私服的作用更为重要。
用户在本地查找本地仓库,若没有 jar 包,则会去私服中查找,私服定义的是外局域网中能联网的地址
场景二
多模块开发时需要公司内部自定义的 jar 包协同开发,这时可以通过私服共享 jar 包
下载地址
https://www.sonatype.com/products/sonatype-nexus-oss
安装
解压
下载对应服务器版本, 解压到自己想要存放的位置, 解压之后的的目录 
安装
以管理员身份打开 CMD,cd到安装目录 **/bin 下,执行下面两步启动命令:
- nexus.exe /install
- nexus.exe /start
此时就私服安装以及启动就都已经完成了。

访问地址:
nexus 启动后, 默认访问端口为 8081, 刚开始启动会比较慢, 访问地址为: http://127.0.0.1:8081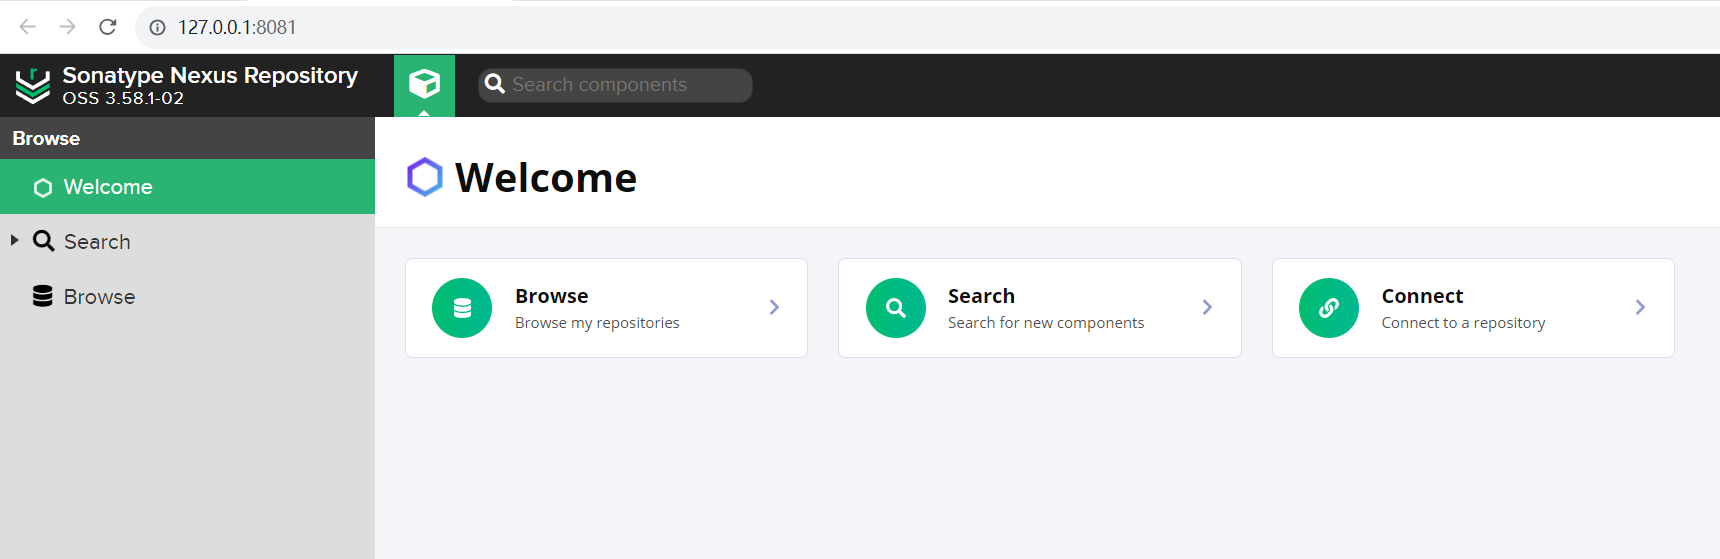
nexus.exe命令大全:
| 命令 | 说明 |
|---|---|
| nexus.exe /install | 安装服务,将程序安装到系统服务列表 |
| nexus.exe /run | 运行服务,将程序启动起来(前台线程启动,退出界面即退出程序) |
| nexus.exe /start | 启动服务,将程序以服务的形式启动,将后台调用run进行启动,需等待部分时间完成启动 |
| nexus.exe /stop | 停止服务 |
| nexus.exe /status | 查看服务状态 |
| nexus.exe /uninstall | 卸载服务,在系统服务列表卸载当前服务后,可执行 install 重新安装 |
修改启动端口
进入到 etc 目录, 找到 nexus-default.properties 文件 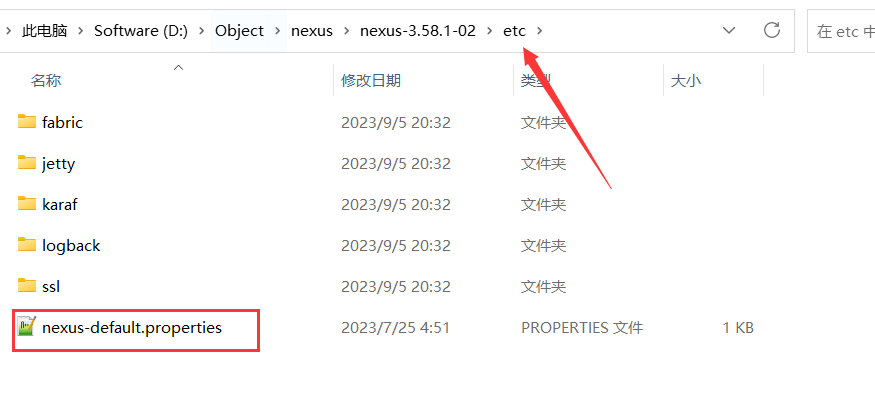
将 8081 修改成自己的端口 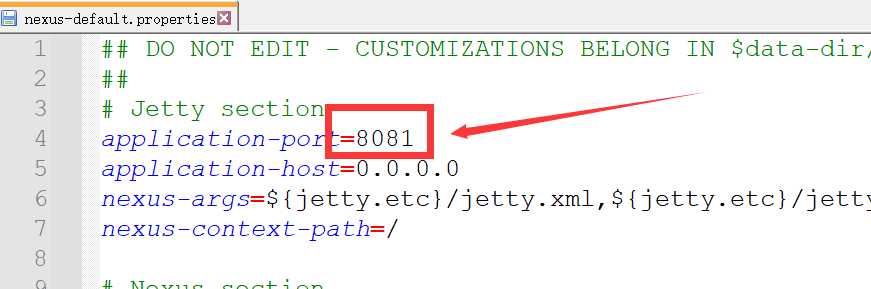
修改 JVM 参数

登录

系统会提示用户输入 用户名、密码:
- 用户名为
admin - 密码为一段随机串,在服务器设置的持久化目录
/sonatype-work/nexus3/admin.password中
设置新的密码
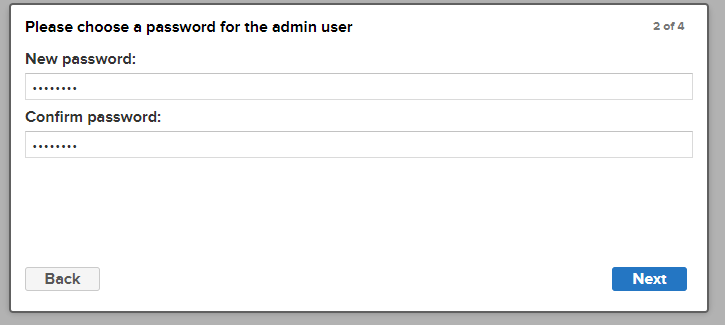 设置完新密码后,持久化目录下的文件
 /sonatype-work/nexus3/admin.password 会被自动删除
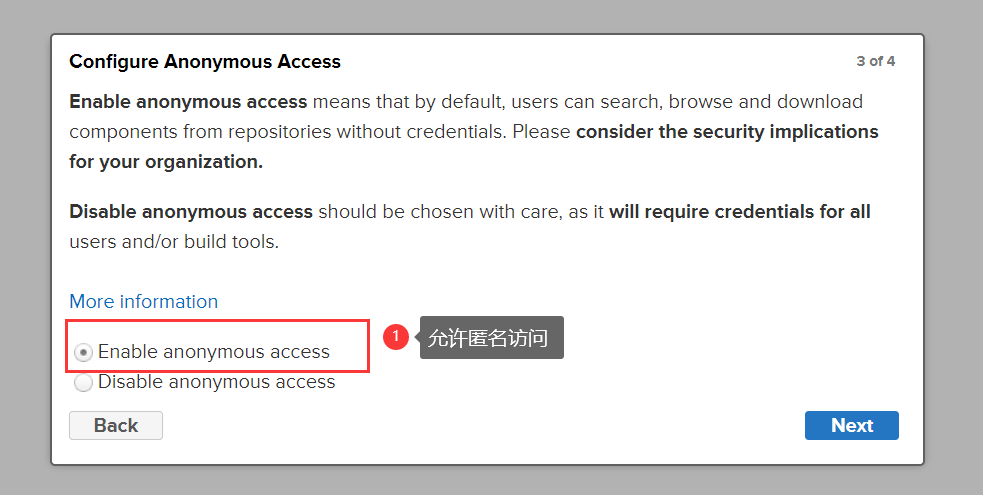
允许匿名访问
私服的认识
登录到私服 http://127.0.0.1:8081 网页端,可以看到界面 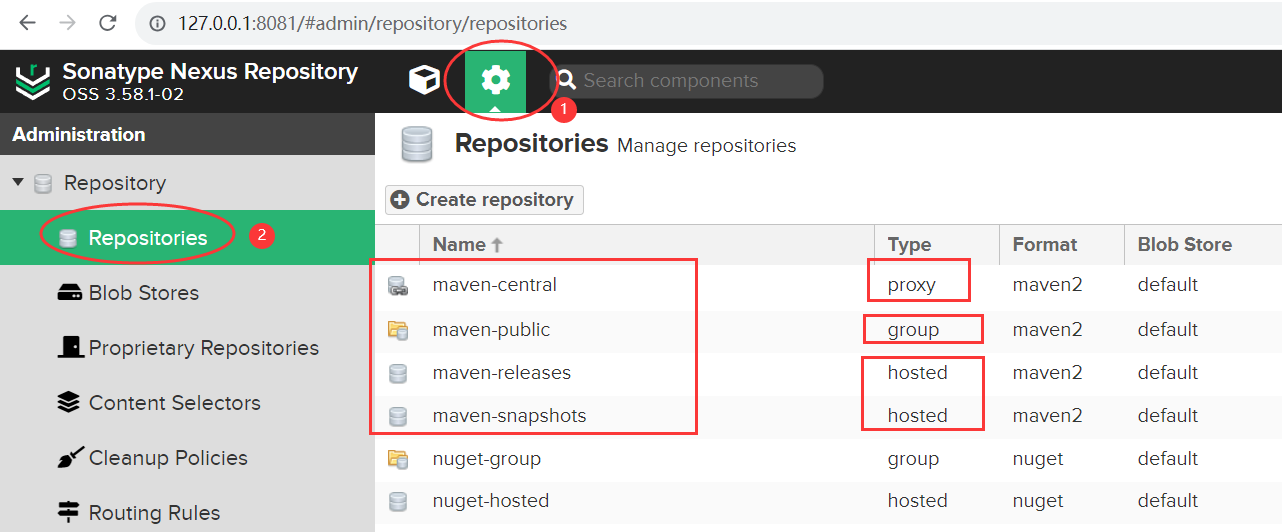
私服 Nexus 的仓库类型有:proxy,hosted,group 三种。
| 仓库名称 | 类型 |
|---|---|
| maven-central | proxy |
| maven-public | group |
| maven-releases | hosted |
| maven-snapshots | hosted |
- proxy(代理仓库): 用于代理远程的公共仓库,如 maven 中央仓库,用户连接私服,私服自动去中央仓库下载 jar 包或者插件。
- hosted(宿主仓库): 用来部署我们自己项目打包的构建,供内部人员下载,包括 releases 和 snapshot 两部分。Releases 公司内部发布版本仓库、 Snapshots 公司内部测试版本仓库
- group(仓库组): 用来合并多个 hosted/proxy 仓库,通常我们配置自己的maven连接仓库组。
创建仓库
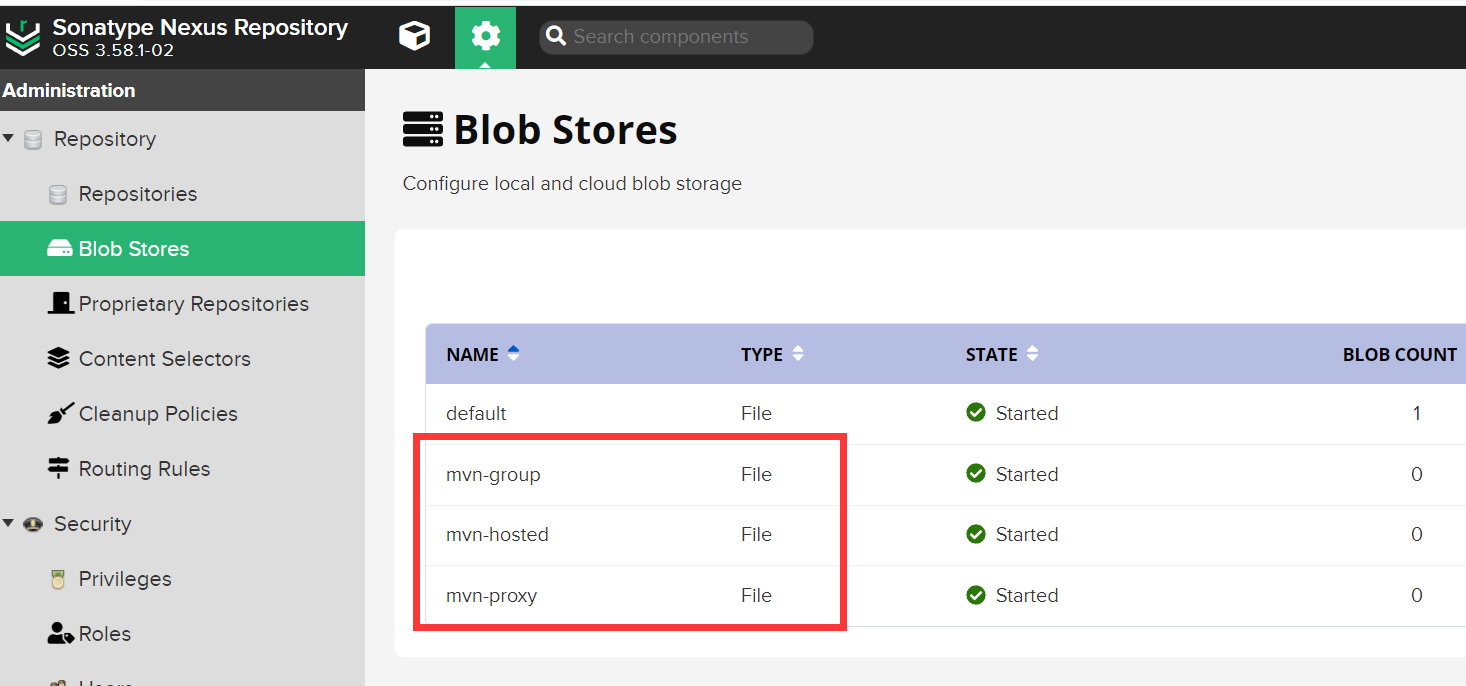
创建 Blob Store
先创建三个 Blob Stores: mvn-proxy、mvn-hosted、mvn-group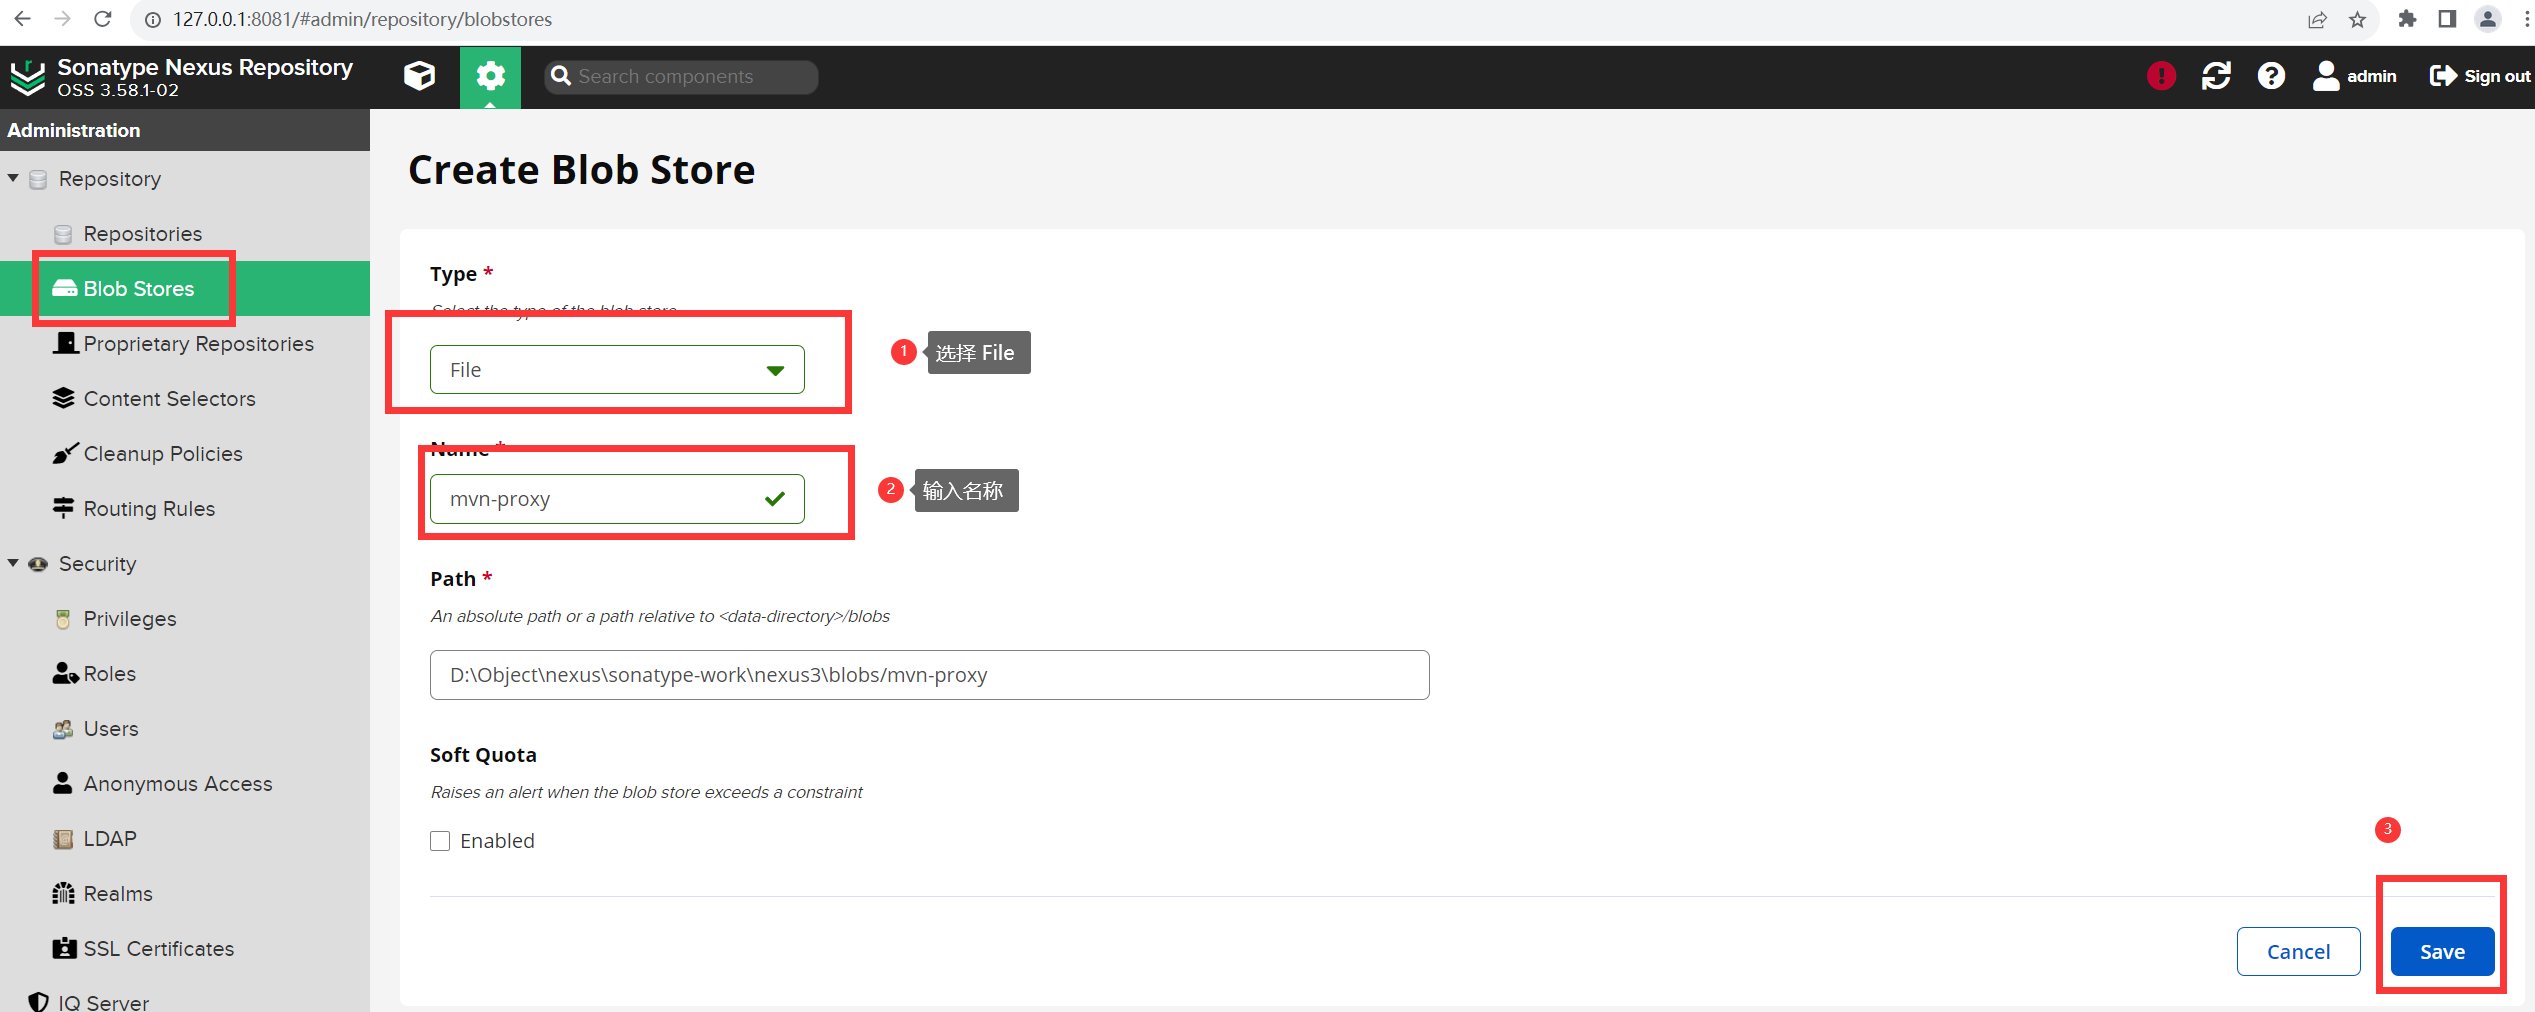
proxy 仓库
点击 Create repositories ,选择 maven2(proxy) 仓库: 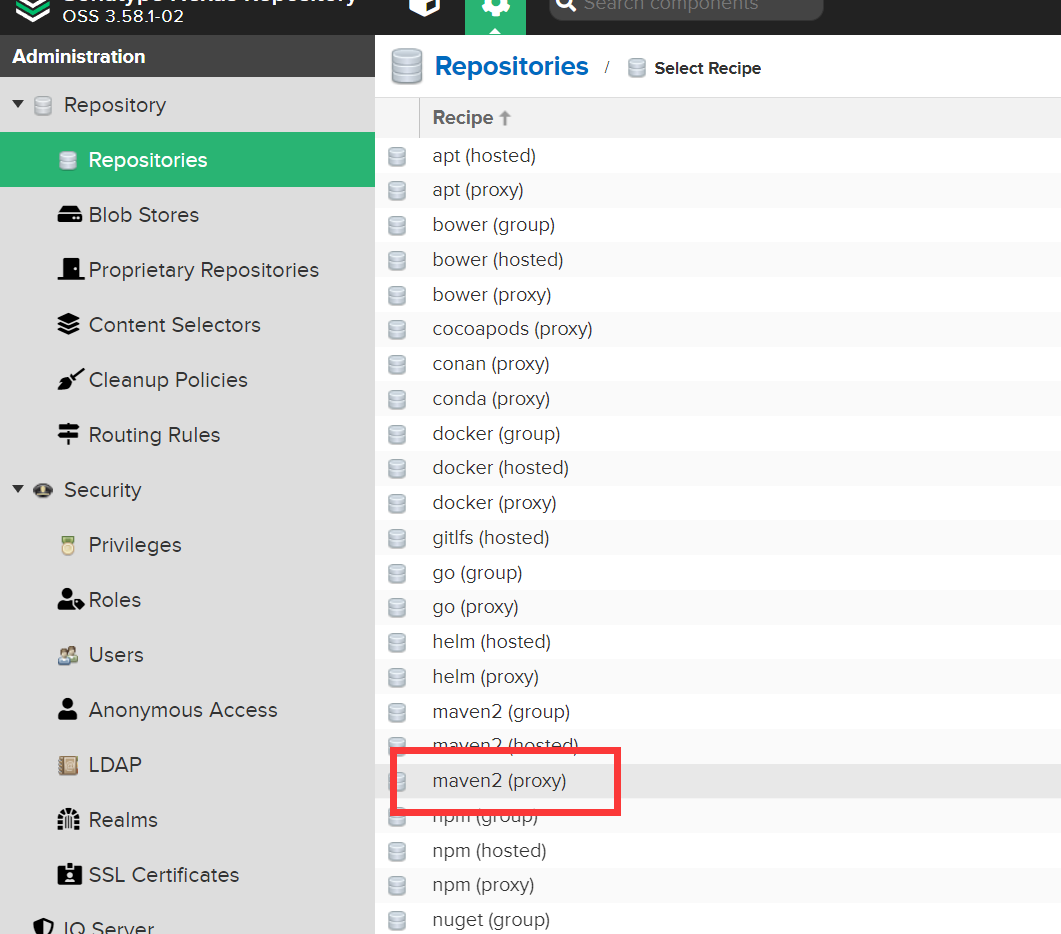
然后将 版本选为 Release,每次都拉取已发布依赖,下面代理地址填写 阿里云的maven仓库地址:https://maven.aliyun.com/repository/public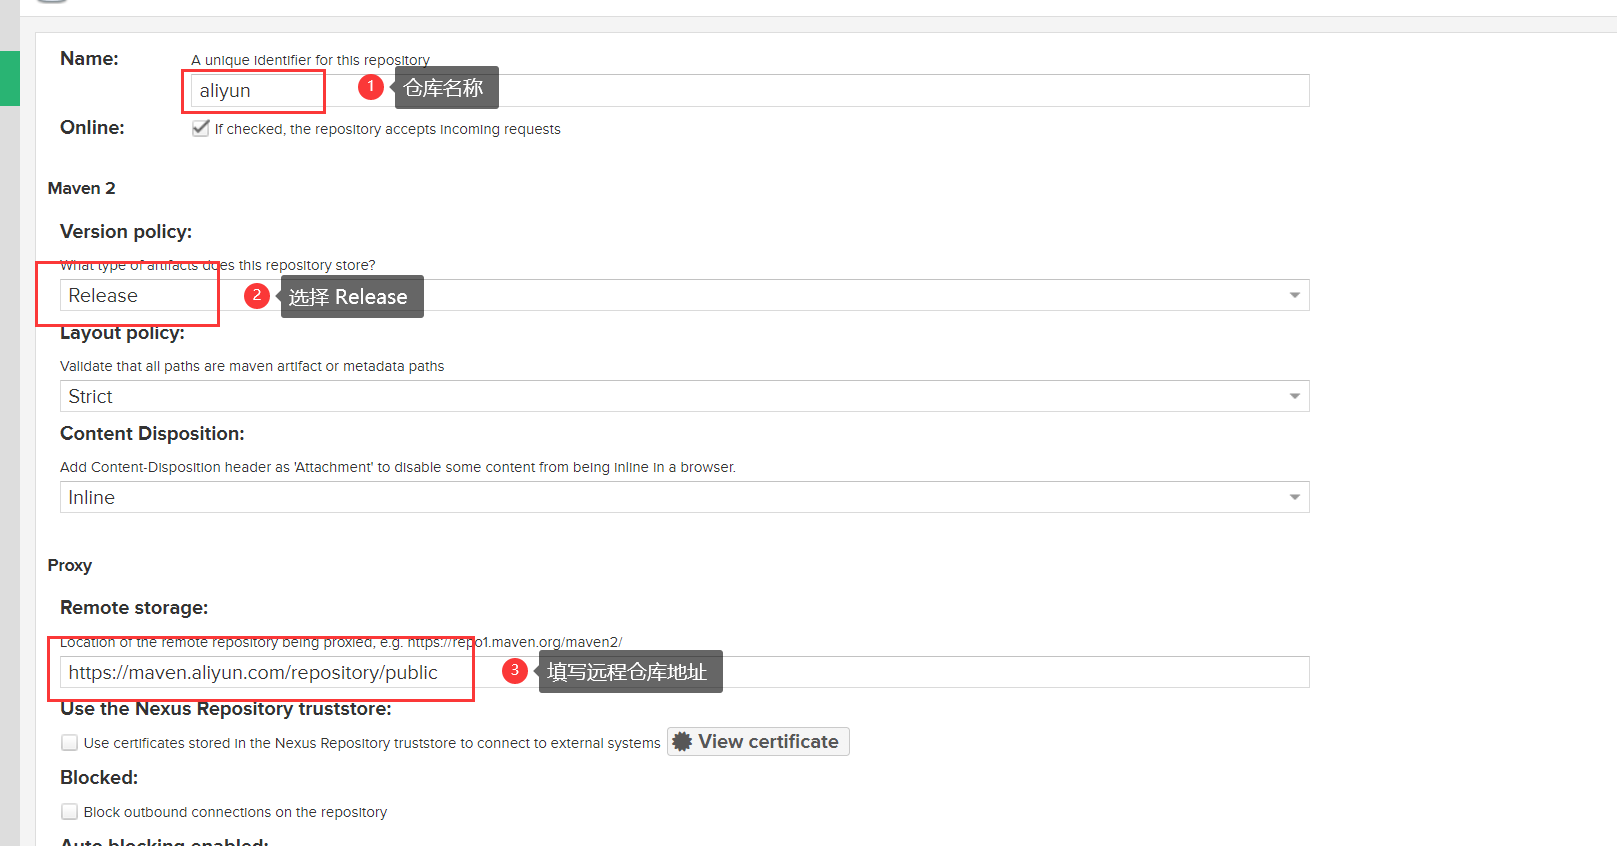
Blob Store 选中上面创建 mvn-proxy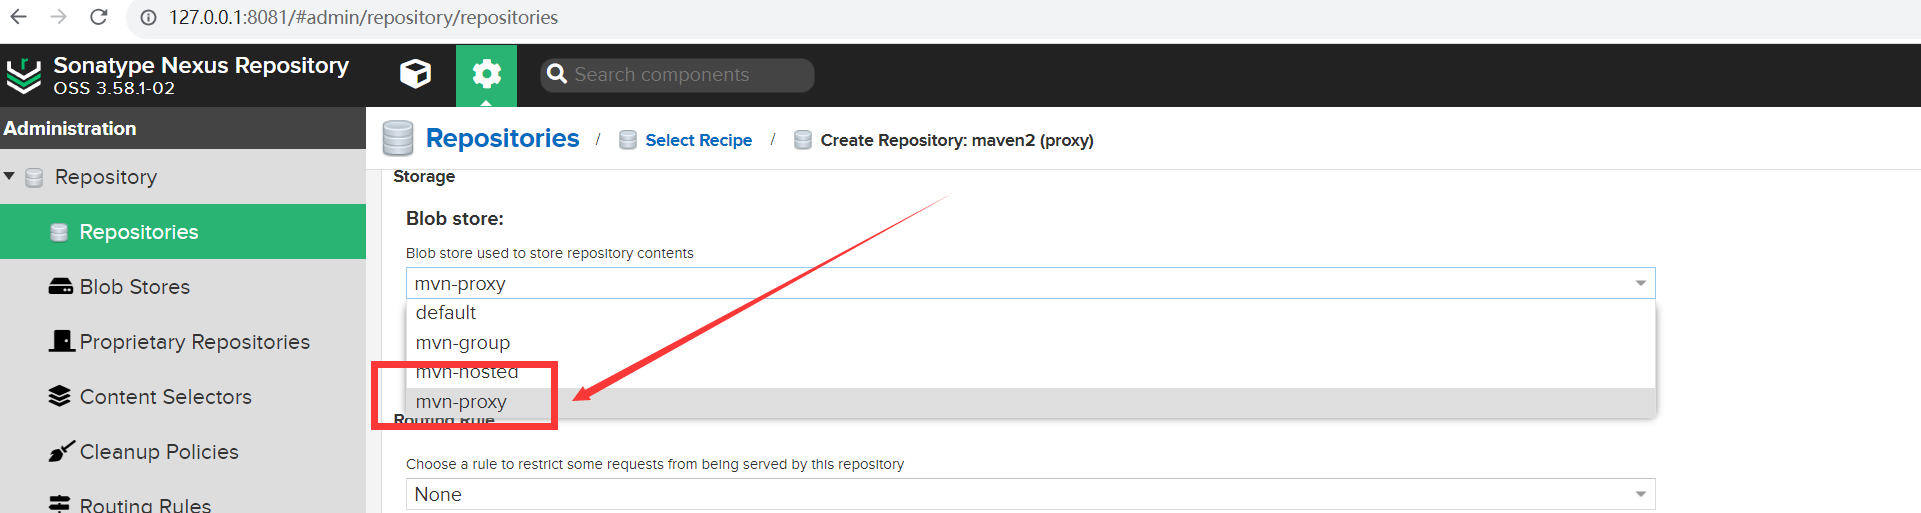
hosted 仓库
点击 Create repositories ,选择 maven2(hosted) 仓库: 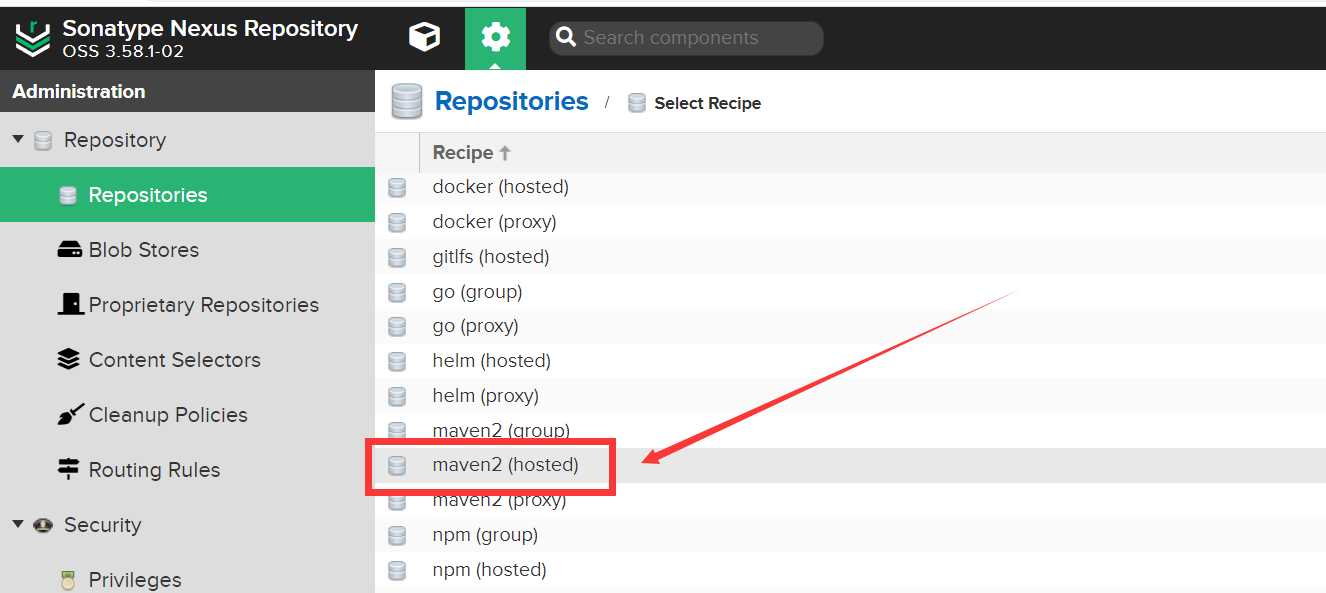
将版本同样选为 Release ,表示该仓库中的是已发布的依赖, Blob Store 同样选中上面创建的 mvn-hosted: 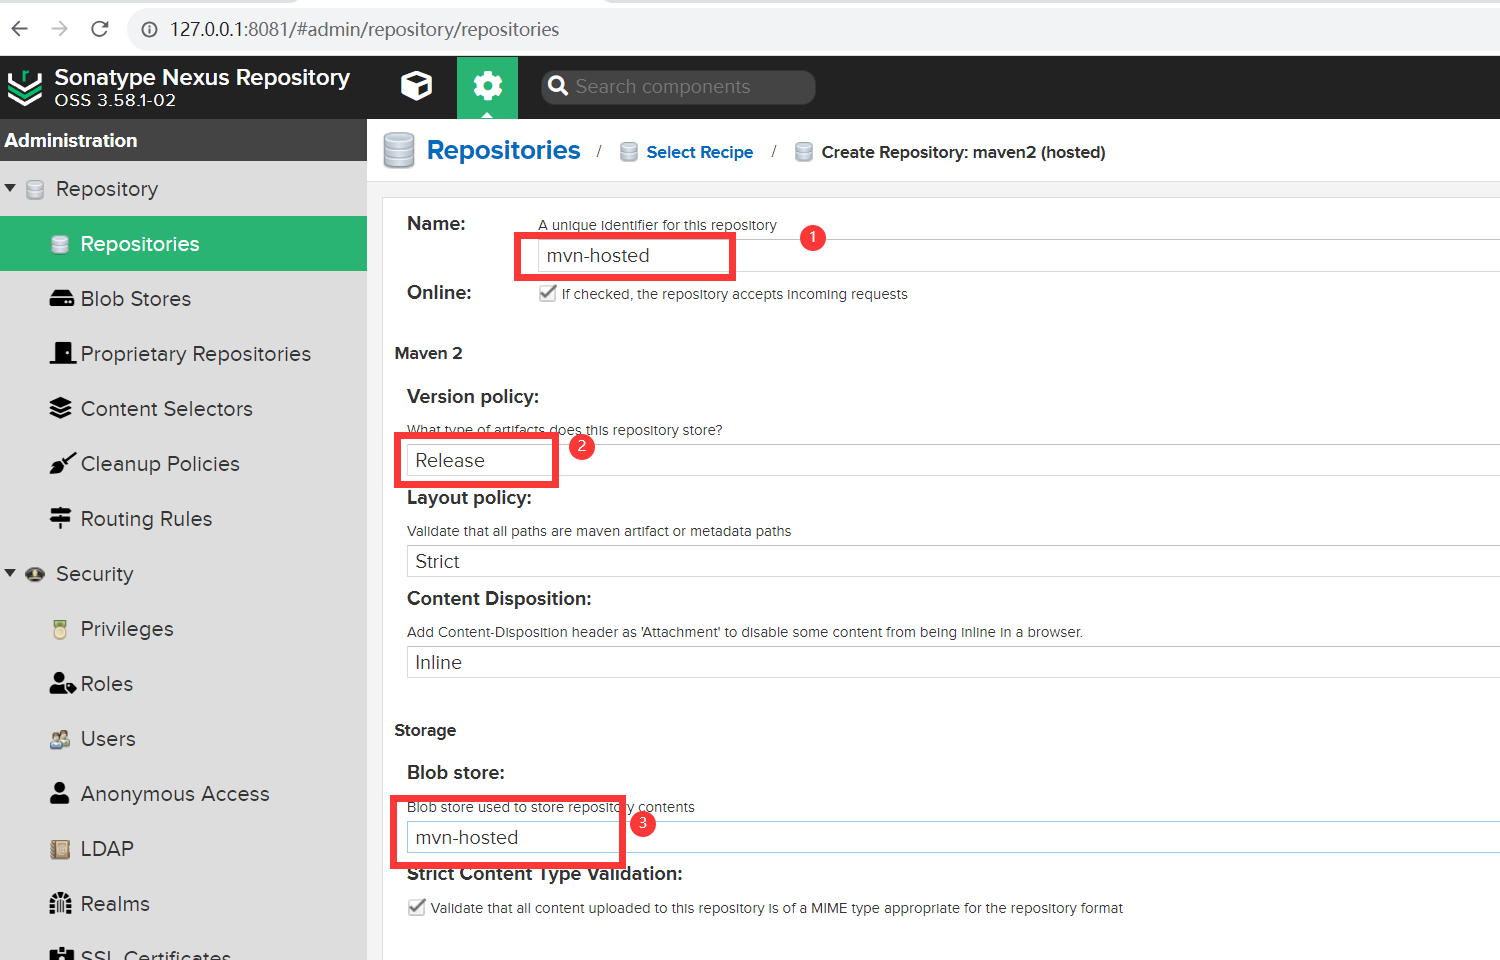
group 仓库
点击 Create repositories ,选择 maven2(group) 仓库: 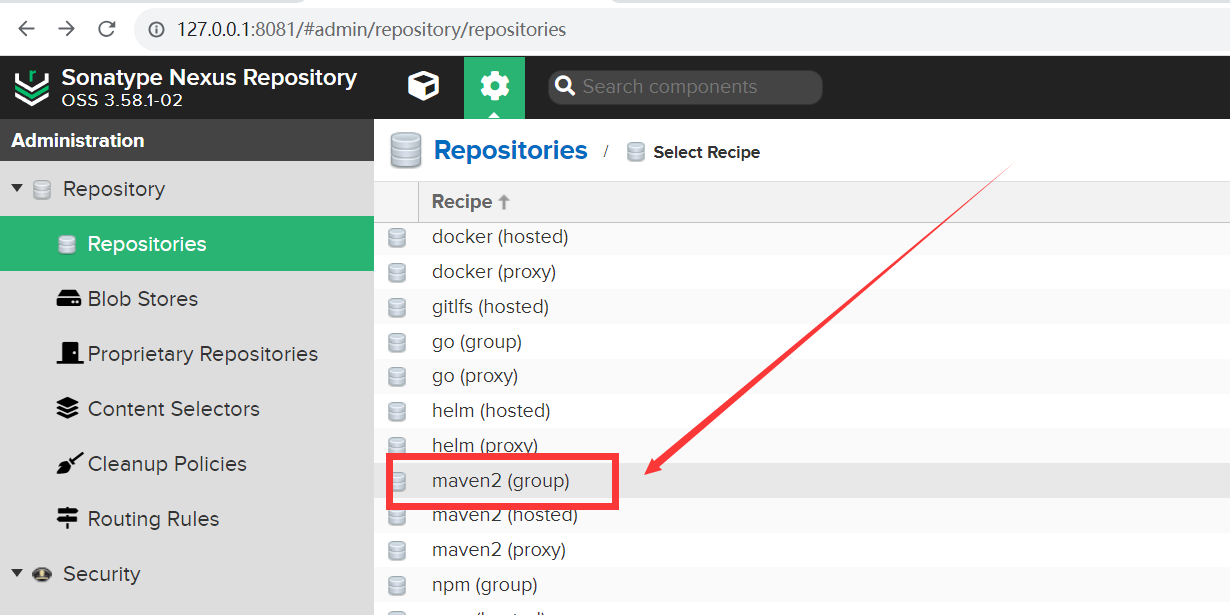
将版本同样选为 Release , Blob Store 同样选中上面创建的 mvn-group, 然后下面的分组需要将上面创建的两个仓库加上,注意顺序,在拉取依赖的时候是根据这个顺序从上往下进行的: 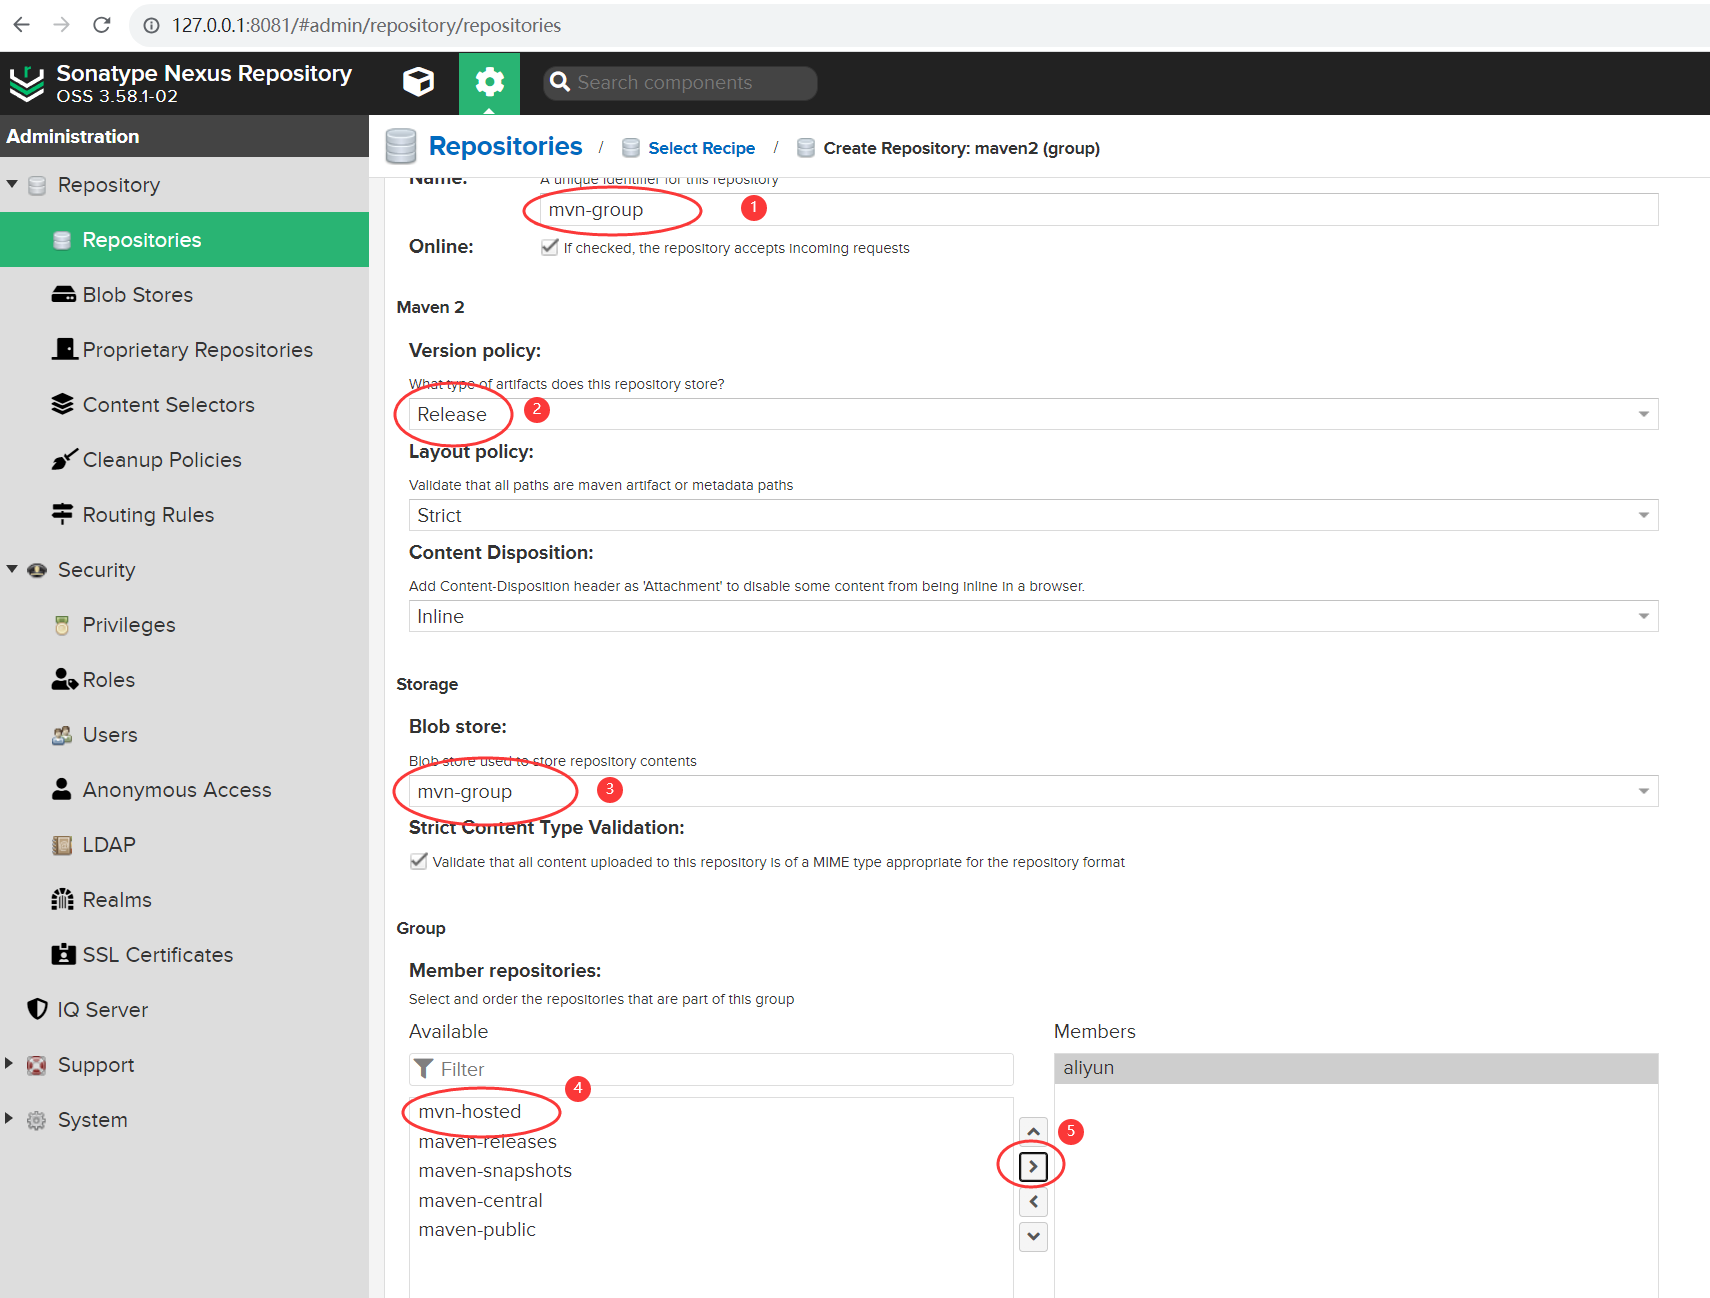
使用
pom.xml 方式 下载依赖
maven 项目,在 pom 中添加下面配置:
<repositories>
    <repository>
        <id>maven-nexus</id>
        <url>http://127.0.0.1:8081/repository/mvn-group/</url>
        <releases>
            <enabled>true</enabled>
        </releases>
        <snapshots>
            <enabled>true</enabled>
        </snapshots>
    </repository>
</repositories>
获取仓库地址 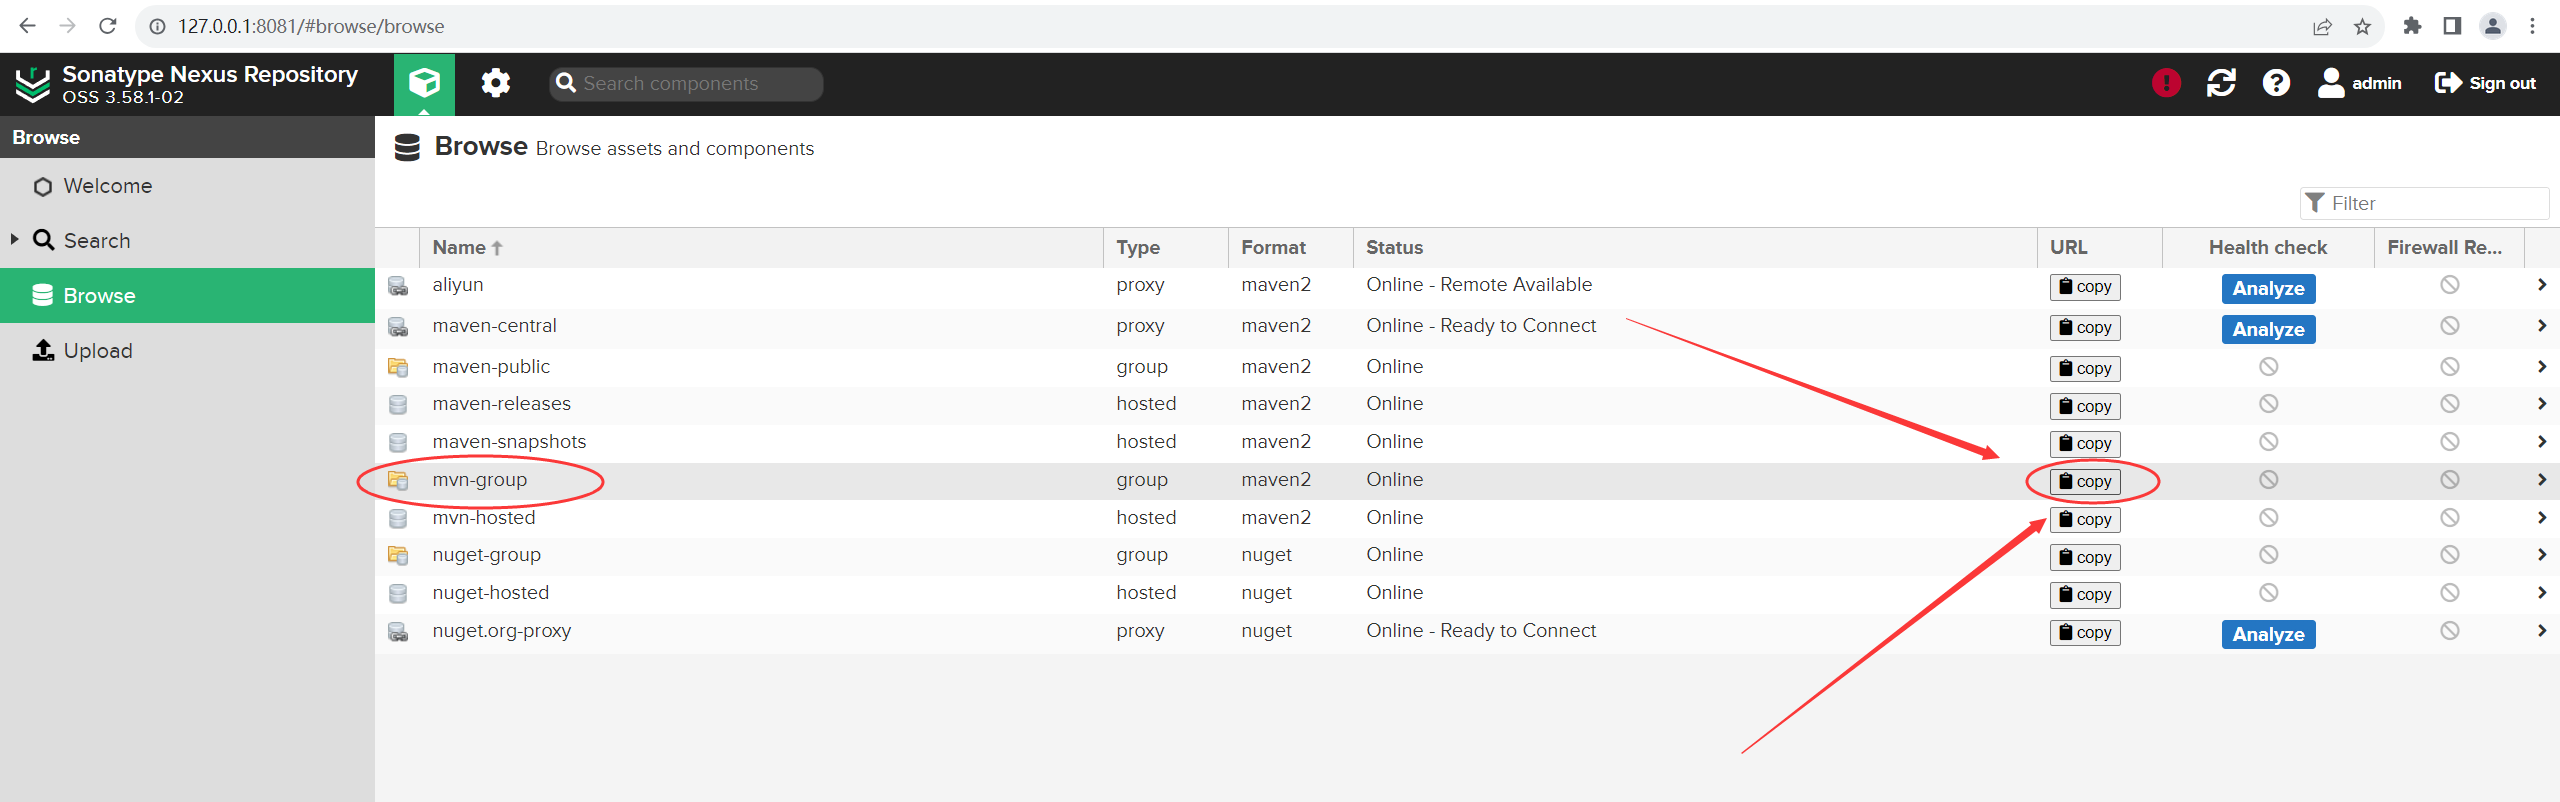
Maven 方式 下载依赖
在 setting.xml 中添加依赖配置:
<mirror>
    <id>nexus-mavem</id>
    <name>Nexus mirror</name>
    <mirrorOf>*</mirrorOf>
    <url>http://127.0.0.1:8081/repository/mvn-group/</url>
</mirror>
本地模块推送至 Nexus
上传 release 版本依赖
在上传依赖时需要注意的是,上面我们创建的 hosted 类型的仓库,版本是选择的 release,如果项目中的版本带有 -SNAPSHOT 则会上传失败,因此首先将项目中的 -SNAPSHOT 删除,这样就可以上传至我们创建的 mvn-hosted 仓库中。 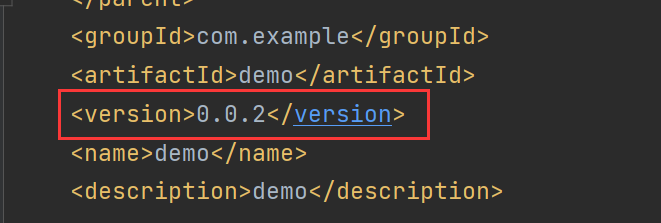
在 pom 中添加配置
<distributionManagement>

    <repository>
        <id>nexus-release</id>
        <name>nexus-release</name>
        <url>http://127.0.0.1:8081/repository/mvn-hosted/</url>
      <!--            <url>http://admin@admin123@127.0.0.1:8081/repository/maven-hosted/</url>-->
    </repository>

    <snapshotRepository>
        <id>nexus-snapshot</id>
        <name>nexus-snapshot</name>
        <url>http://127.0.0.1:8081/repository/maven-snapshots/</url>
      <!--            <url>http://admin@admin123@127.0.0.1:8081/repository/maven-snapshots/</url>-->
    </snapshotRepository>

</distributionManagement>

<build>
<plugins>
    <plugin>
        <groupId>org.springframework.boot</groupId>
        <artifactId>spring-boot-maven-plugin</artifactId>
    </plugin>
    <plugin>
        <!--编译跳过测试文件检查的生命周期-->
        <groupId>org.apache.maven.plugins</groupId>
        <artifactId>maven-surefire-plugin</artifactId>
        <configuration>
            <skip>true</skip>
        </configuration>
    </plugin>
</plugins>
</build>
其中 release 发布到上面我们自己创建的 mvn-hosted 中,snapshot 版本就发布到原来 Nexus3 帮我们默认创建好的 maven-snapshots 中。
下面同样需要在 setting.xml 中添加用户信息:
<server>
  <!-- id,对应项目里面pom.xml里面distributionManagement配置的id -->
  <id>maven-releases</id>
  <!-- 登录nexus的用户名 -->
  <username>admin</username>
  <!-- 登录nexus的密码 -->
  <password>admin123</password>
</server>

<server>
  <!-- id,对应项目里面pom.xml里面distributionManagement配置的id -->
  <id>maven-snapshots</id>
  <!-- 登录nexus的用户名 -->
  <username>admin</username>
  <!-- 登录nexus的密码 -->
  <password>admin123</password>
</server>
然后 使用 mvn deploy 上传依赖: 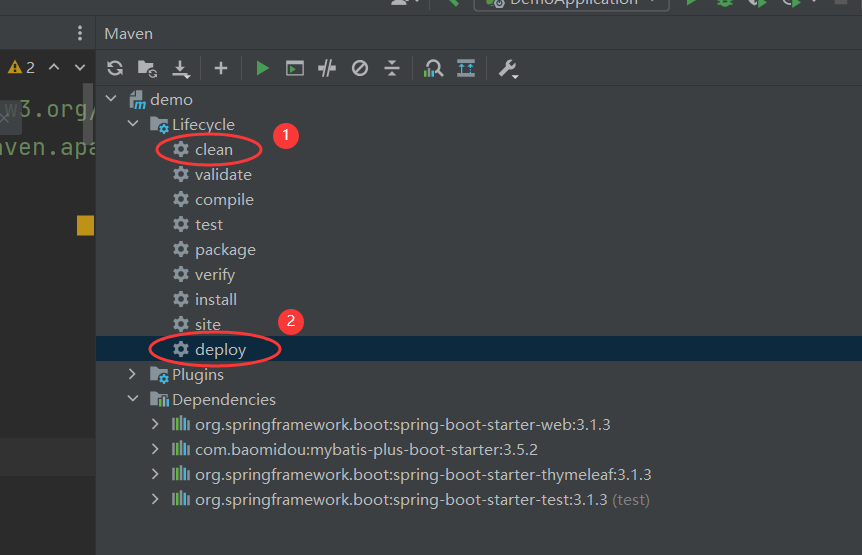
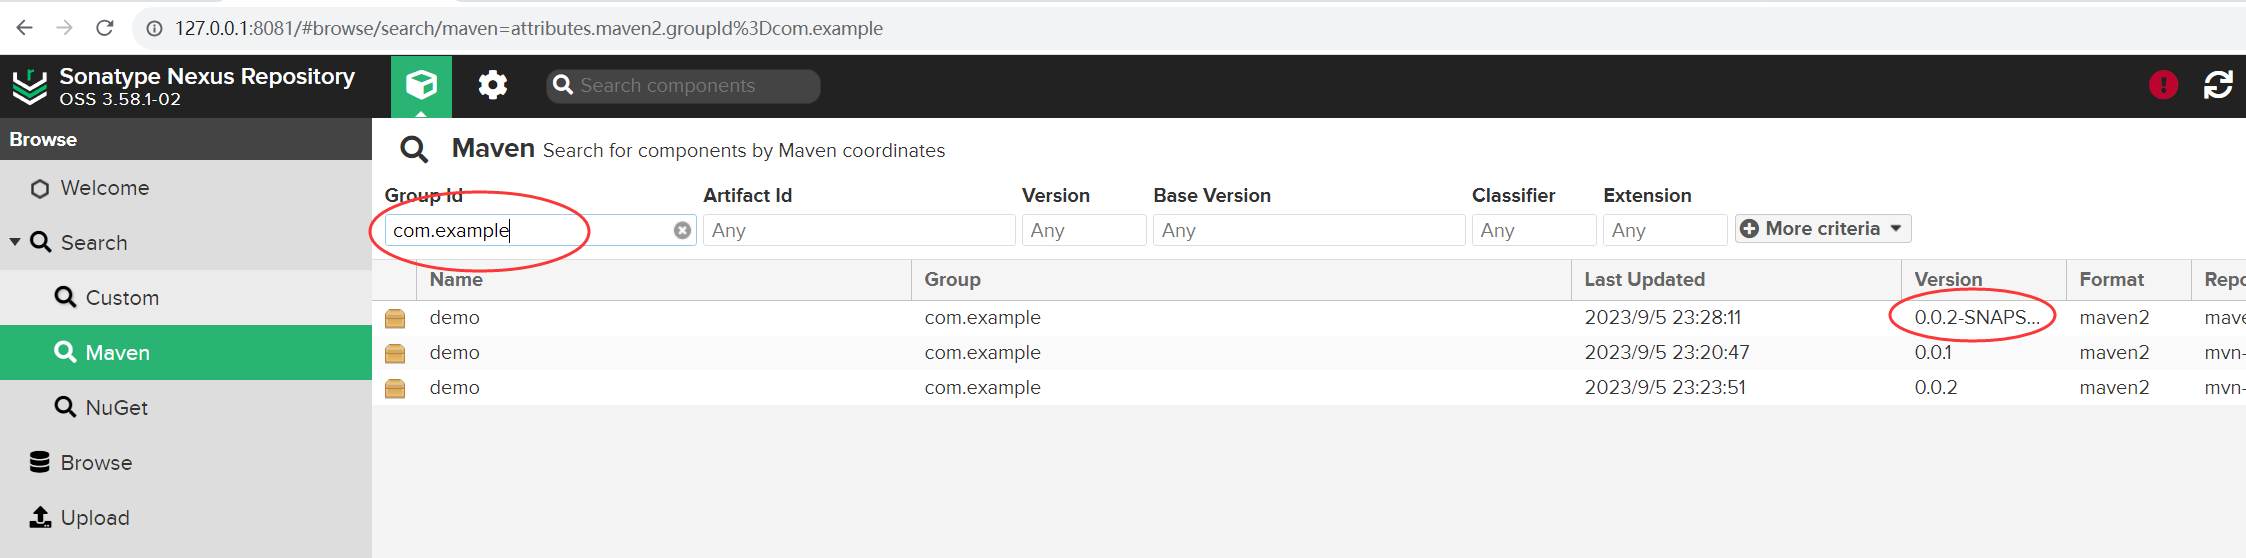
打包成功之后, 查看打包信息 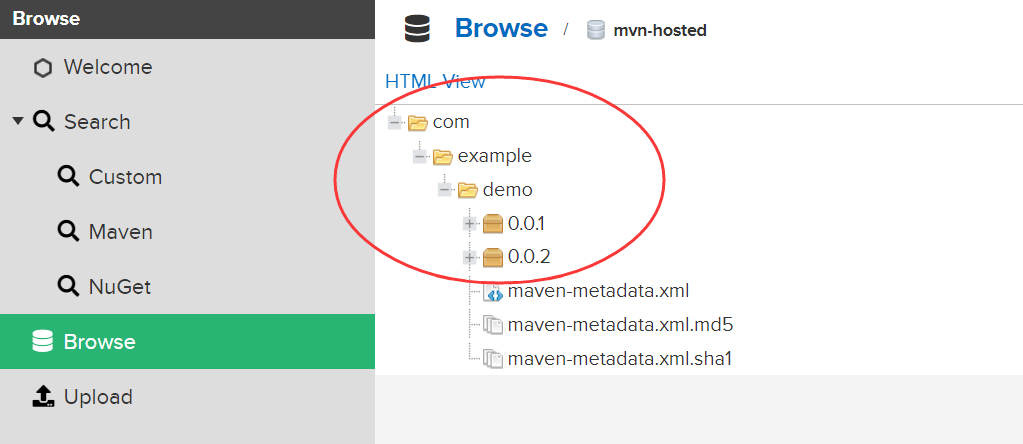
上传 snapshot 版本依赖
上传snapshot 版本依赖,只需在版本中添加 -SNAPSHOT 后缀 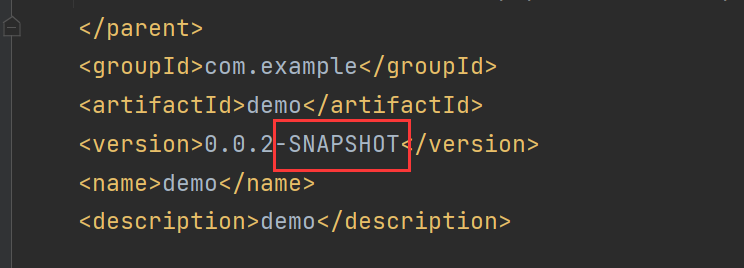
然后 使用 mvn deploy 上传依赖: